 |
| Some of the pathways are getting congested as the garden matures. |
In general, the spring and early summer has been cooler and wetter than average. We have been getting rain every week which has been keeping our water tanks full and while I still need to go out and water on a fairly regular basis, I mainly have to concentrate on the containers as they dry out much more quickly than the raised beds.
 |
| This is looking down into the bottom garden. It's hard getting an overview photo of the gardens. Maybe we need to get a drone... |
One solution that I have found that helps me to stay focused is that I have buckets to carry the tools I use for various tasks - one holds what I need for harvesting, another holds items for staking and pruning tomatoes, and my most often used bucket holds my arsenal against squash bugs. What I keep in these buckets changes as the garden progresses and I repack them for specific projects, but making sure I am equipped for my specific project (and not for others) helps me stay on track. While out there each day, I do assess what the next priorities should be as they can change on a daily basis.
Back in late April, I took you on virtual tour of gardens as they were being planted. So let's go and take another spin around the gardens to see how they are doing and I will tell you about some of the things we have been doing for the care and feeding of our plants. We'll go in reverse order from the last trip, we can stop to say 'Hi' to the bunnies and then head on over to the north garden.
 |
| The thermostat is in the upper left corner of the photo. Say 'Hi' to Roger. |
Cover #1 - Berry Patch Covers
 |
| The design for the netting to form the new berry bed covers. |
 |
| The PEX sits in the pipe clamp and is stopped from sliding down by the screw right below the clamp. |
 |
| The completed 'covered wagon' design berry bed cover for this year. |
I had used some mosquito netting for berry covers last year but had secured the bottom around the beds with bungee cords which had torn the netting. This year's ah-ha! moment was pool noodles. I went to the dollar store and bought an armload of them (all one color, of course). I cut the noodles so I had pieces the length of each side of the raised beds, sliced each noodle-piece lengthwise just through to the center hole and then used these as clamps to hold the netting snug along the entire length of each side of the bed. Once I had the noodles in place on the arched ends, I trimmed the netting along the bottom of the bed.
 |
| On the left is the raised bed of oak leaf lettuce. On the right are stacks of lettuce leaves, and a few blackberries, ready for dehydrating. |
I pick leaf lettuce every 2 to 3 days and get about 100 leaves each time. Fortunately, I have come up with a way to dehydrate it that keeps it intact for winter storage and that the rabbits like to eat. Individual lettuce leaves are too thin and fall apart when dehydrated, but I wash them off and layer 5 or 6 together in stacks on the trays. They compress when dehydrating to form 'lettuce patties' and I have taste tested them on the rabbits. All four breeders have approved of these in their food bowls.
I have also been harvesting a lot of herbs out of the north garden, you may recall this garden has a lot of plots for rabbit food. As soon as the basil and lemon balm were tall enough to begin harvesting I started cutting sprigs aggressively to encourage the plants to become bushier and heartier. Most herbs will branch out if you prune a stem directly above a leaf pair, so I carefully slide the blades of the little nippers that I use down along the stem until I come to a pair of leaves and that is where I cut off a sprig of the various herbs. Then, within a few days there will be a 'Y' forming at that point on the stem as the plant branches out to become fuller.
 |
| Three of the herbs beds, Thai basil, lemon balm and cinnamon basil. The first two were scatter planted the last was planted in two rows. Heavy rains right after planting washed the scattered seeds around. |
 |
| The clover field growing into the second-cutting. |
Cover #2 - Diatomaceous Earth
And just look at the Seven Dwarfs! Our seven dwarf fruit trees have all flourished since we planted them this spring. They did not flower after planting so there will be no fruit this year but we are seeing a lot of growth. Our raised-holes seem to have worked well in providing a good start as they become rooted in the garden. We had a week of fairly strong winds and everyone remained firmly upright. I continue to water them, but not as often as I water the plants in the north garden. A couple weeks ago I did notice that almost all the trees had squiggly holes eaten in their leaves. I could not find the culprits making swiss cheese out of our fruit tree foilage, but I gave the trees a dusting of diatomaceous earth, one of my gardening staples, and that has seemed to taken care of whatever was munching on the leaves. Diatomaceous earth is made from the fossilized remains of tiny, aquatic organisms called diatoms. It looks like a fine white powder to the naked eye, but if you were to look at it under a microscope it would actually appear very sharp and jagged. To soft bodied critters that attack my garden, it becomes an impassable land mine field I lay down! Remember when you were a kid and played 'the floor is lava'? Well in this case, I play the leaves are covered in spikes with all the pests that want to eat them!
 |
| THE SEVEN DWARFS Peach - Asian Pear - Bartlett Pear - Gala Apple - Cortland Apple - Cherry - Golden Delicious Apple |
Covers #3 & #4 - Egg Shells and Calcium Water
 |
| An example of tomato blossom end rot, caused by calcium deficiency. |
 |
| Cooking egg shells to make calcium water. I recommend keeping the lid on the pan while letting the shells soak in the water over night. |
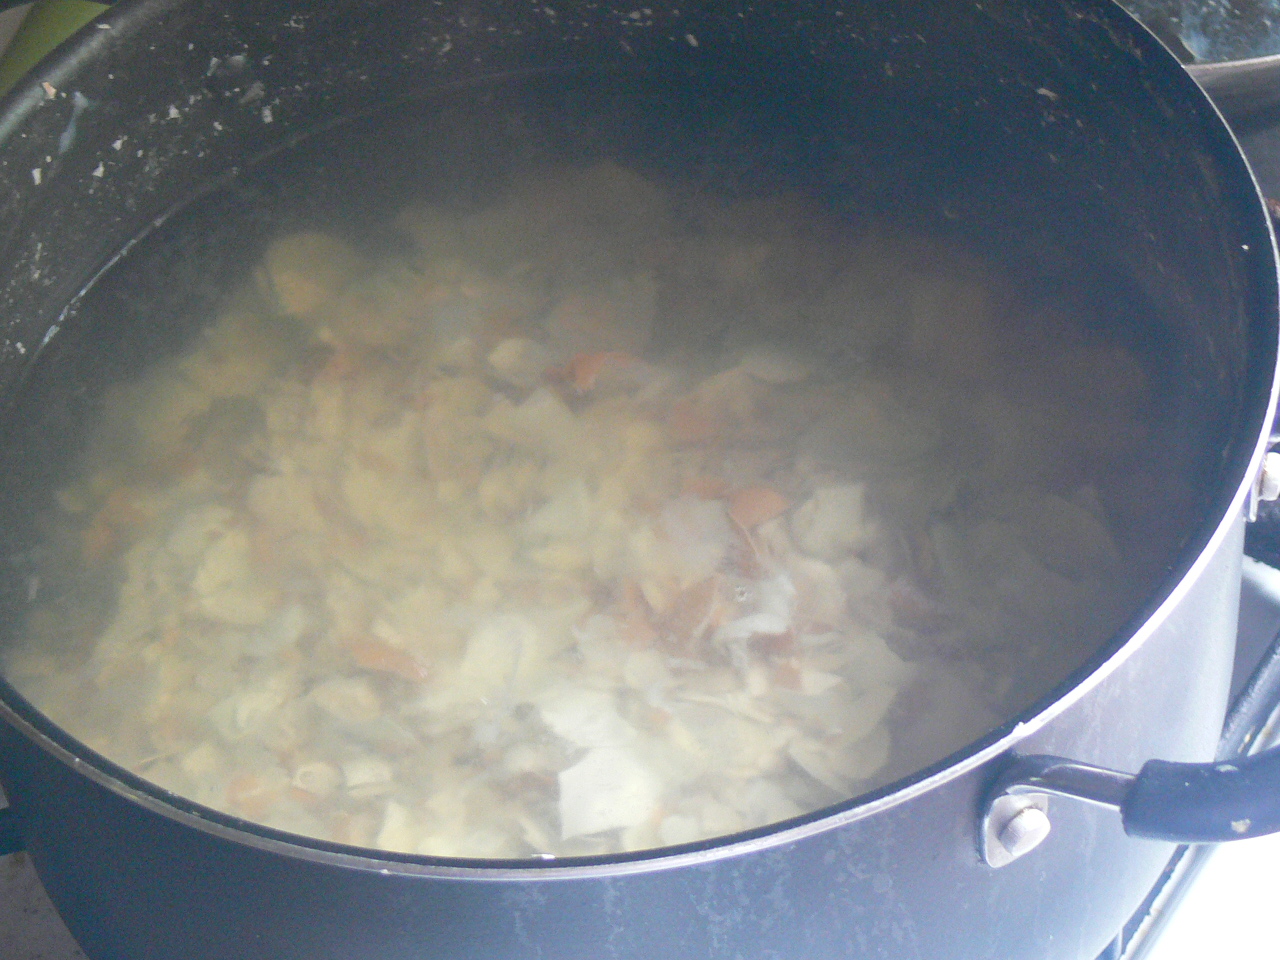
There were some suggestions to help prevent the end rot from occurring in new squash being formed. The one I decided to try was to use a calcium foliar spray which is a direct spray onto the leaves. I made a solution of calcium water by boiling crushed egg shells in water and letting them sit over night. I then strained the concentrated calcium water into a bottle. I had no idea of the strength so I just made a guess and diluted it by half in a spray bottle and I sprayed it on the leaves of my squash and tomato plants.
After doing this, I realized I should have spritzed just a sampling of plants first to make sure there were no adverse effects from the calcium water on the leaves. The next day I stepped out onto the deck and the only squash plant I could see from the deck, a zucchini in the kitchen garden, had all yellow and brown leaves and was definitely dying! But all the tomato plants were still green. I quickly checked the squash plants in the bottom garden and they were fine as well. It was just coincidence that a vine borer had gotten into that specific plant at the same time and killed it. Phew!
 |
| One of my larger candy roaster squash so far this year. |
Cover #5 - A Case for the Grapes
As we entered the bottom garden you couldn't miss the cover I made for the grape vines this year. The two grape plants are in plastic totes on either end of a 16 foot feed lot panel - the same as we use for fencing in the gardens. The vines of the two grape plants then grow along the fence towards each other. Last year something ate all of my grapes in one day just a day or so before they were ready to pick, so this year I wanted to come up with a way to protect them. I needed a cover that would enclose the grapes because I am not sure if it was birds, squirrels or some other critter that absconded with them.
The plan I came up with was for a cover made from mosquito netting that would drape over the feed lot panel 'trellis' and be sealed shut on all sides. I started with a 18 foot length of netting. With the netting being 6 feet wide, I measured the height I would need to cover from the top of the planters to the top of the fencing and determined that folding the netting in half lengthwise (draping 3 feet on either side of the fence) would give me enough length to cover all the vines. I had just seen a bunch of sew-on Velcro strips on clearance at a fabric store so I purchased enough to sew along the 18 foot length and the two 3-foot ends. As I was sewing it and then assembling it over the grape trellis I was thinking that there had probably been a better choice then Velcro along all those edges because the 24 feet of Velcro hook tape kept snagging and sticking to the mosquito netting and I had to carefully pull it away from the fabric. But in the end, it all fit nicely over the grape vines and I am pleased with the results.
 |
| The 'envelope' cover for the grape trellis. I used pool noodles to encase the top of the wire fence panel. Strips of sew-on velcro close the sides and bottom . |
Behind the grapes, that bed with the box-shaped berry cover has more blackberries. I am going to transplant them this winter because the elderberries to the left are blocking the sun way too much. I underestimated how much my elderberries would grow, they are about ten feet tall. That plastic ring to the right of the blackberries has a second variety of elderberries. It does not grow as tall, but this year it self-propagated to the raised bed to the right. That bed had a couple red raspberry plants I had rescued from a clearance rack, one died and the other had no berries this year so I am going to transplant it this fall and let the elderberries stay in that bed. Basically, the bottom half of the back row of this garden will now be elderberry canes. Unlike the blackberries and raspberries that only produce on second year canes, the elderberries produce every year but after four years the canes tend to produce less and you should thin them out then. So I need to come up with a system for marking my new canes each year to track their age.
 |
| Many people are not familiar with ground cherries. The top picture is a group of seedlings, the bottom is the fruit in their paper-like wrappers. |
The bed of plants that self-seeded from last year is just starting to drop ripe fruit so I am going to move that berry cover from the blackberry bed over to the ground cherries. Last year something, I think squirrels, started eating the ground cherries as they ripened. When they are ripe, the ground cherries drop to the ground. They look like little paper Japanese lanterns and the yellow 'cherry' is inside. I kept finding the empty paper like shells on the ground as the critters stole the cherries out of them. That is when I made the original berry cover that is now on the blackberry bed. It is taller then the 'covered wagon' style and that is why I want to use it on this bed as the plants are quite tall. I will be moving the covered wagon cover from the north garden to the other ground cherry bed once I think they are all pollinated.
I planted that as a new bed this year so they are a few weeks behind the established bed. The arched cover should work with this second bed because I did not fill the bed to the top with dirt as I did the first bed. The plants sit about 8 inches down in the bed so the cover does not need as much height above the edge of the raised-bed. frame.
 |
| This zinnia has taken over almost half of the rice cowpea bed. I plan on saving seeds from this gorgeous plant. |
Cover #6 - A Sprinkling of Epsom Salt
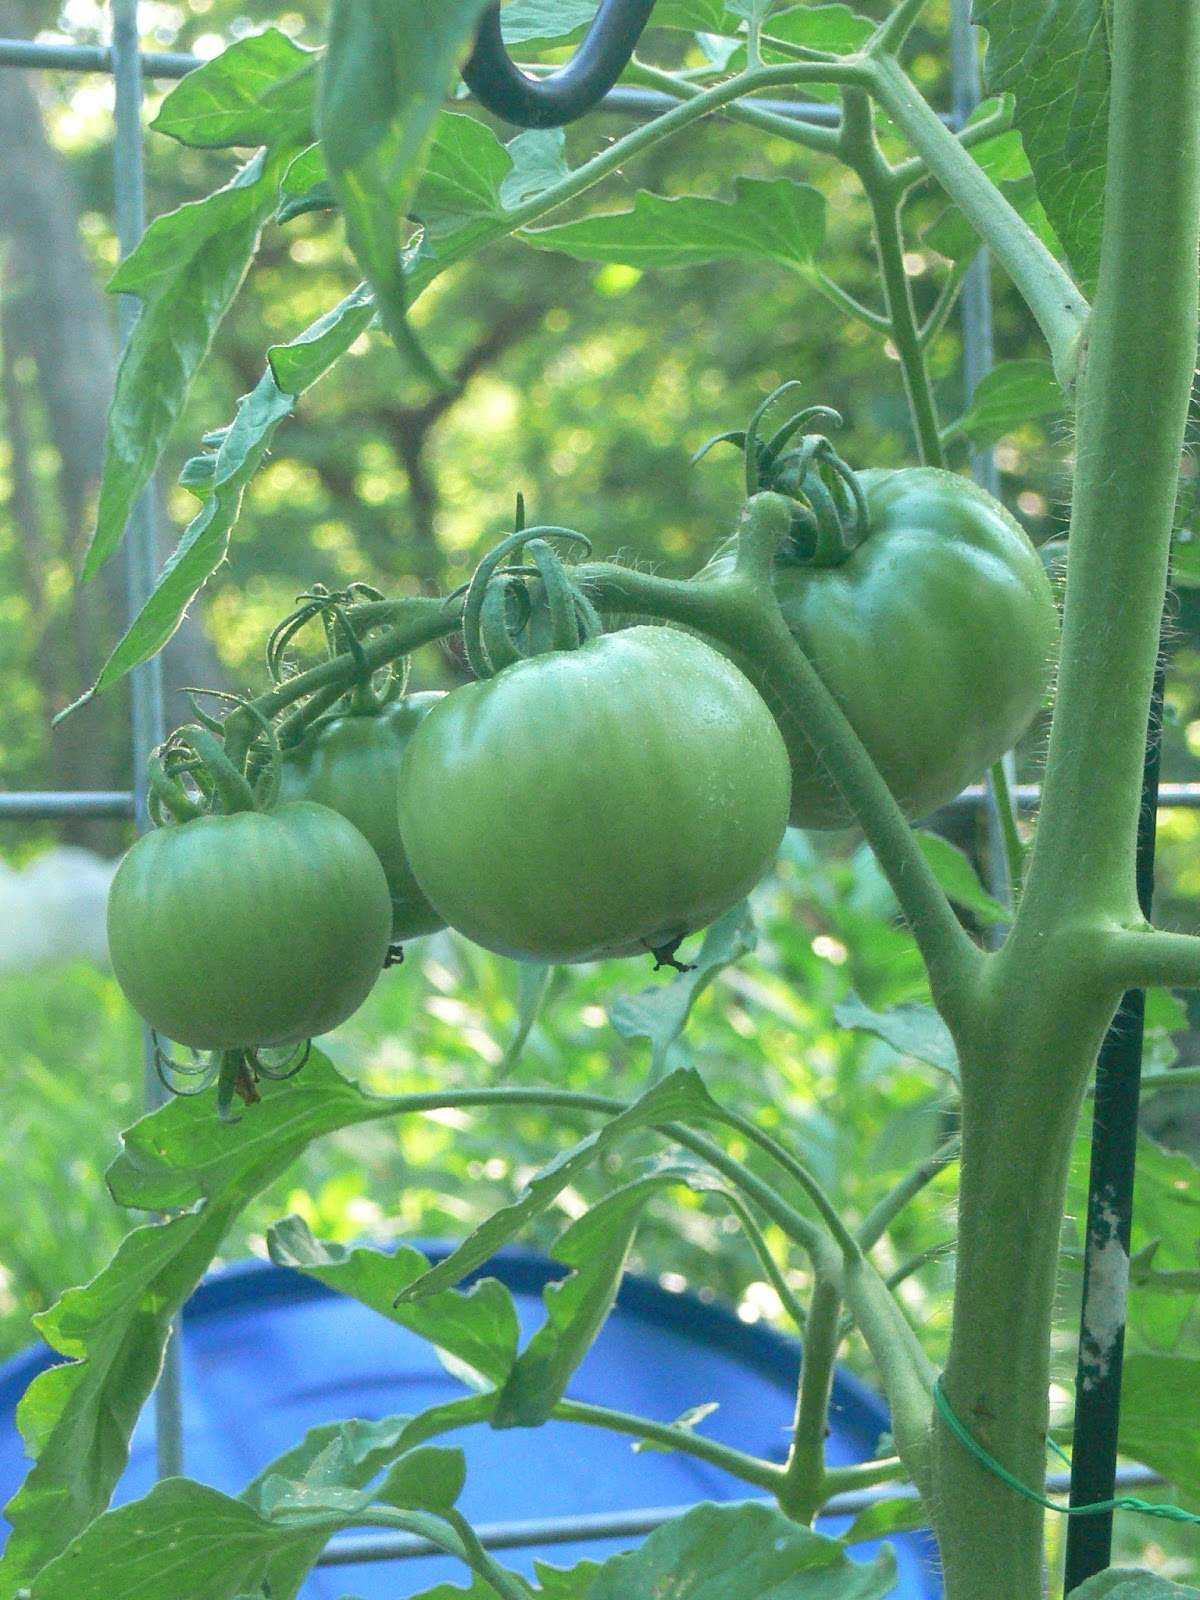 |
| A sample of some of my St. Pierre tomatoes. At last count I had just over 200 green tomatoes across all six varieties planted. |
 |
| I almost didn't grow any rutgers tomatoes this year because I did not have good results last year. |
Cover #7 - More Nitrogen, Really?
 |
| The roma tomatoes are suffering a lot from root rot. Hopefully the will survive long enough for all the tomatoes to ripen that they have set. |
And as we head up to the kitchen garden you will see the Amish Paste tomatoes which are my favorite. They are the only ones that were showing signs of blossom end rot and it was only on these first two plants by the gate. I am going to give them all another spray of the calcium water for good measure, but I have tons of green tomatoes right now. In fact, I need to tie up a few of the branches as they are being weighed down so much I fear they are going to break off at the main stem.
The strawberries are also going strong. I am getting more off the Ozark Beauties now than I did in the spring. They were slow starting out because I had transplanted them to the pallets. They spent the spring growing their plant structure out more than growing fruit but now they are fruiting like crazy. I had covered them with mosquito netting to protect ripening berries, but then realized I needed to uncover them every so often because there were a lot of new blossoms that needed to be pollinated.
Well, there you have it, another long winded tour of our gardens with explanations of how everything is kept undercover and hopefully safe and protected from various garden hazards. Well, everything except me, sometimes I want to crawl under the berry covers, too, to escape the mosquitoes.
No comments:
Post a Comment